Happy Feet on the Trail: Your Complete Guide to Trekking Foot Care
Looking after your feet is not the most glamorous part of preparing for a trek, but it might just be the most important. Get it right and you move freely, confidently, and fully in the moment. Get it wrong and every step becomes a reminder.
The smallest of blisters can become the biggest of hindrances, quickly turning what should be an incredible journey into something you simply endure rather than enjoy.
This practical guide covers everything you need to keep your feet in top shape on the trail, from simple daily habits and comfort tips to blister prevention and smart fixes when things start to rub, so you can focus on the adventure ahead rather than what is happening inside your boots.
1. Start before you even leave home
Good foot care begins well before day one.

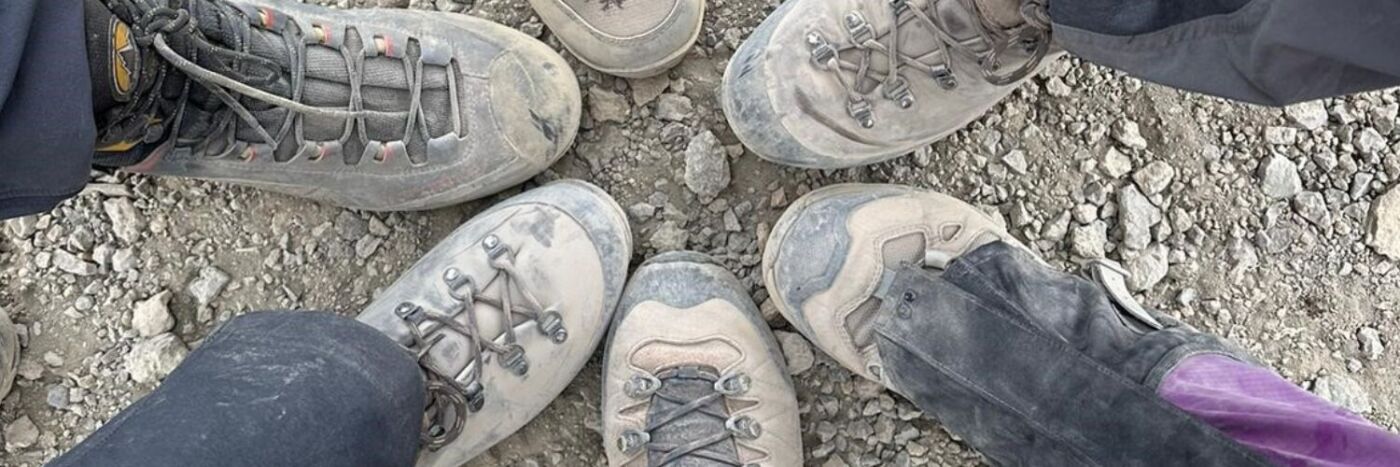
2. Get your footwear right from the start
Your feet are your primary means of transport on a trek. When they are working well, everything flows. When they are not, even the strongest mindset can be stopped in its tracks.
The smallest issues can quickly become the biggest barriers. Blisters, sore spots or bruised toenails from long descents can turn a great day into something you simply push through rather than enjoy.
Fit is everything.
If your shoes are too loose, your feet will move and create friction. Too tight, and pressure builds in all the wrong places. Both lead to discomfort and blisters.
Start by understanding your own feet. Things like bunions, toe shape, nail thickness or a tendency to blister all affect how footwear feels over time. It also helps to know your foot type, whether you have a high arch, flat feet or a neutral shape, and how your foot moves as you walk.
When choosing footwear, always try before you buy. Go later in the day when your feet are slightly swollen and bring the socks you plan to wear. Aim for around half to one inch of space at the front to protect your toes on descents.
Most modern hiking shoes should feel comfortable from the start and not require a traditional breaking in period. That said, you still need to test them properly before your trek.
During training, stay aware. Your feet will swell over multi day treks, so notice any pressure points early. Check the soles for wear and remember your footwear works as a system with your socks and insoles.
Before committing, walk on an incline if possible and see how your feet feel going up and down.
Get this right, and everything else becomes a lot more enjoyable.
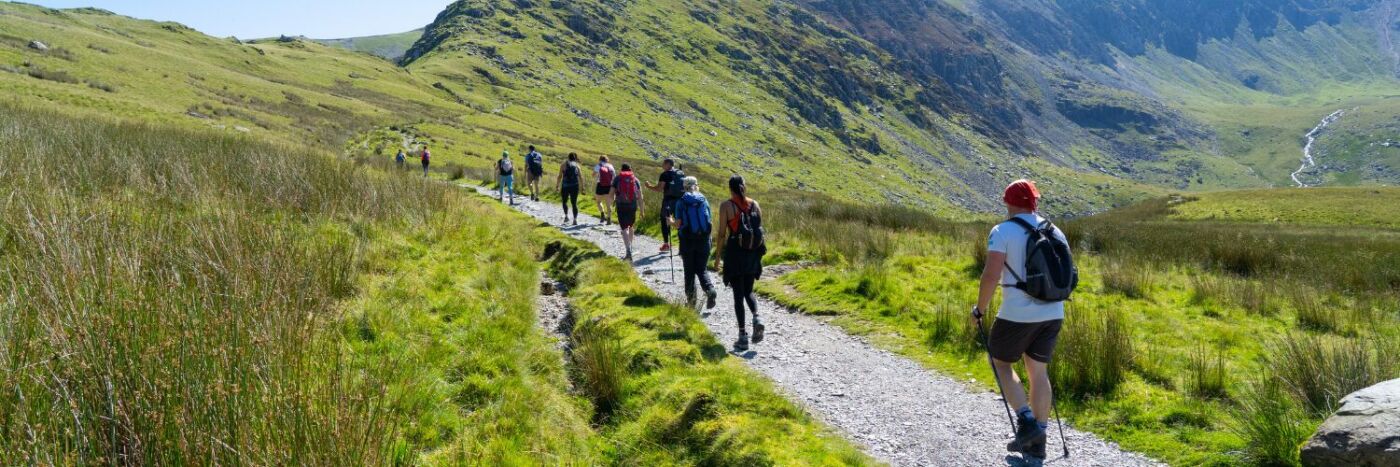
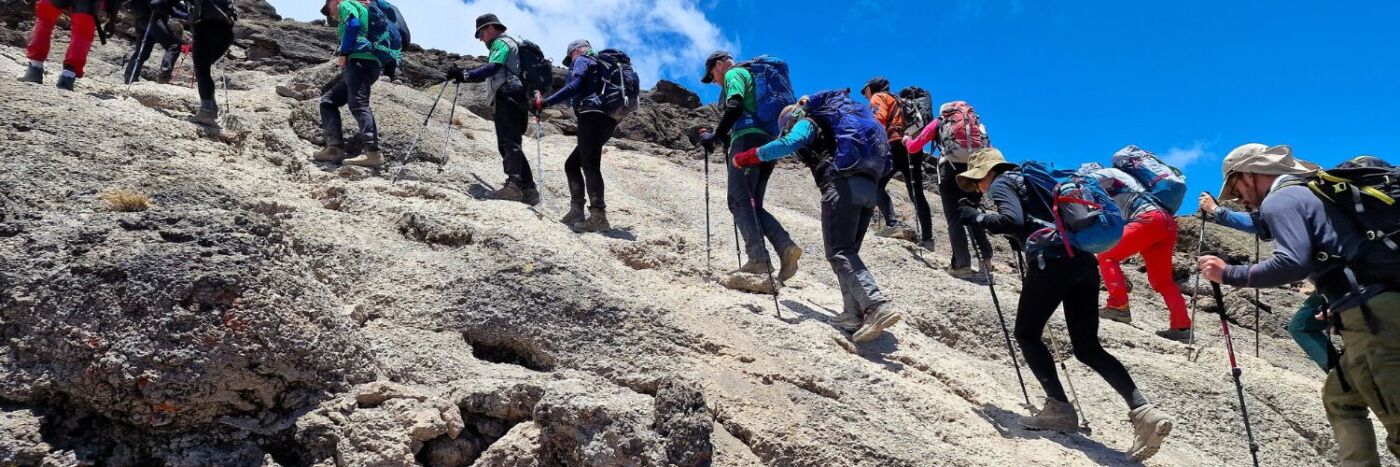
3. Build time on your feet
Your feet need conditioning just like the rest of your body. Gradually increase distance and time on your feet so they adapt to repeated impact and load.
It is also important to strengthen the muscles, tendons and ligaments in your feet and ankles, especially when hiking with a pack. Without this, you are more prone to ankle sprains and overuse injuries.
Start with shorter hikes and a lighter pack, then build up steadily over time. This allows your body and your feet to adapt together, setting you up for longer days on the trail with more confidence and stability.
4. Trim your toenails
Keep your toenails short, smooth and well maintained. Socks can catch on nails that are too long or rough, creating pressure on the nail bed and leading to discomfort over time. On descents, long nails are also more likely to press into the front of your boots.
Trim nails straight across rather than rounding the corners, and leave a small amount of length at the outer edge of the big toe to help avoid ingrown toenails.
After trimming, use a nail file to smooth any rough edges and lightly shape the nail so there is nothing to catch or rub while you are on the move.
It is a small detail, but one that can make a noticeable difference over long days on the trail.
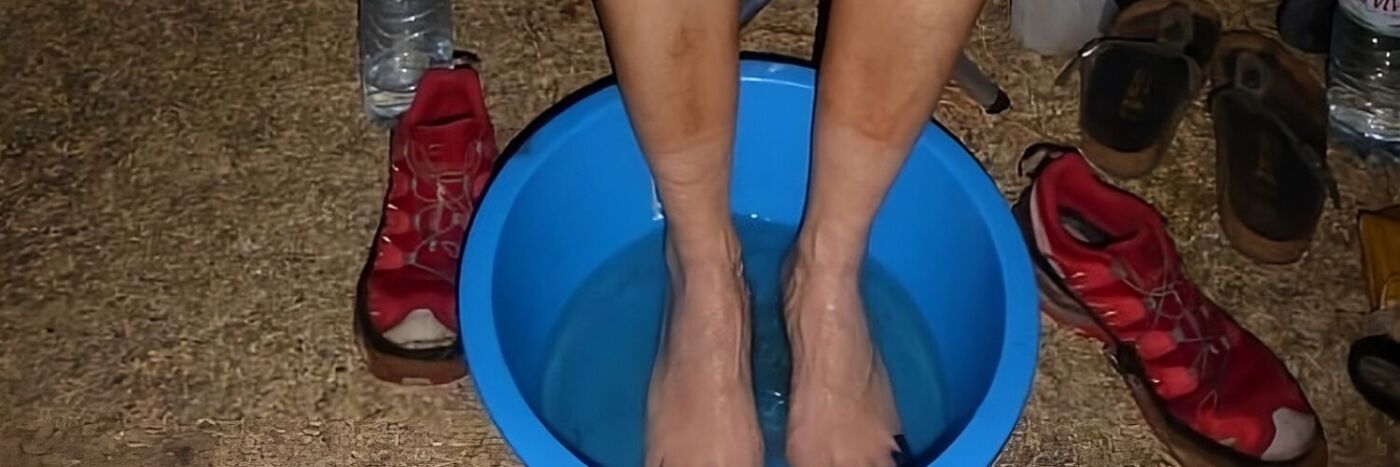
5. Keep your feet clean and dry
Moisture softens skin and increases friction. That combination leads to blisters.
Change socks if they get damp, air your feet during breaks, and take the time to dry them properly at the end of each day.
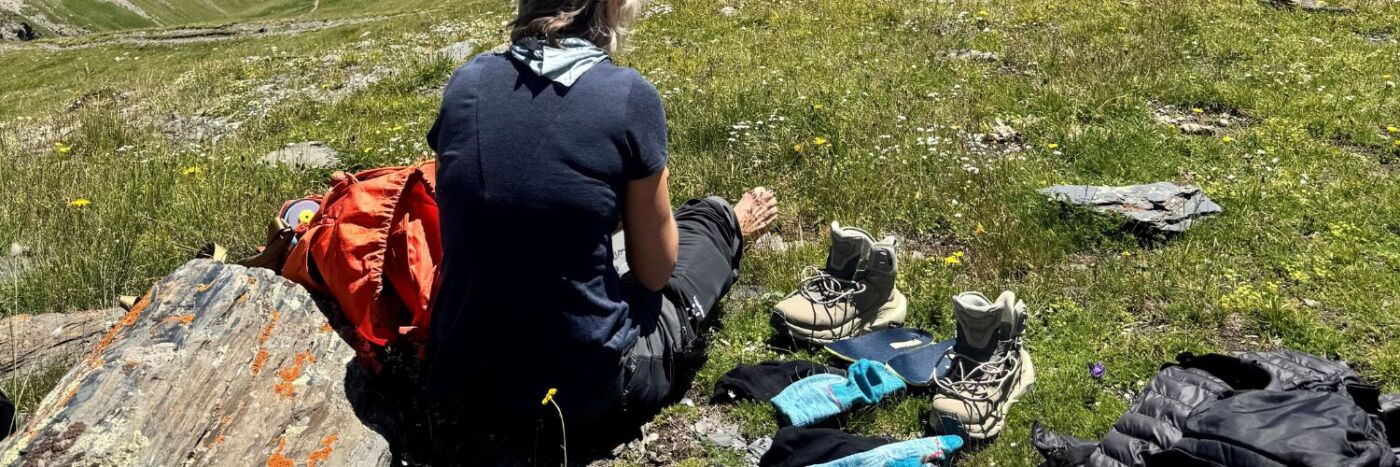
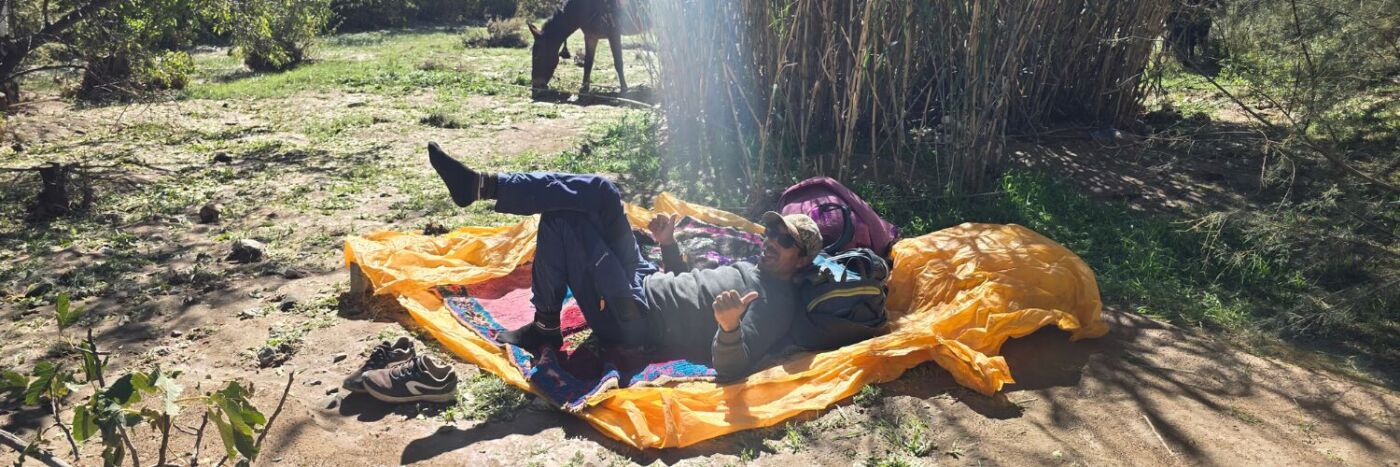
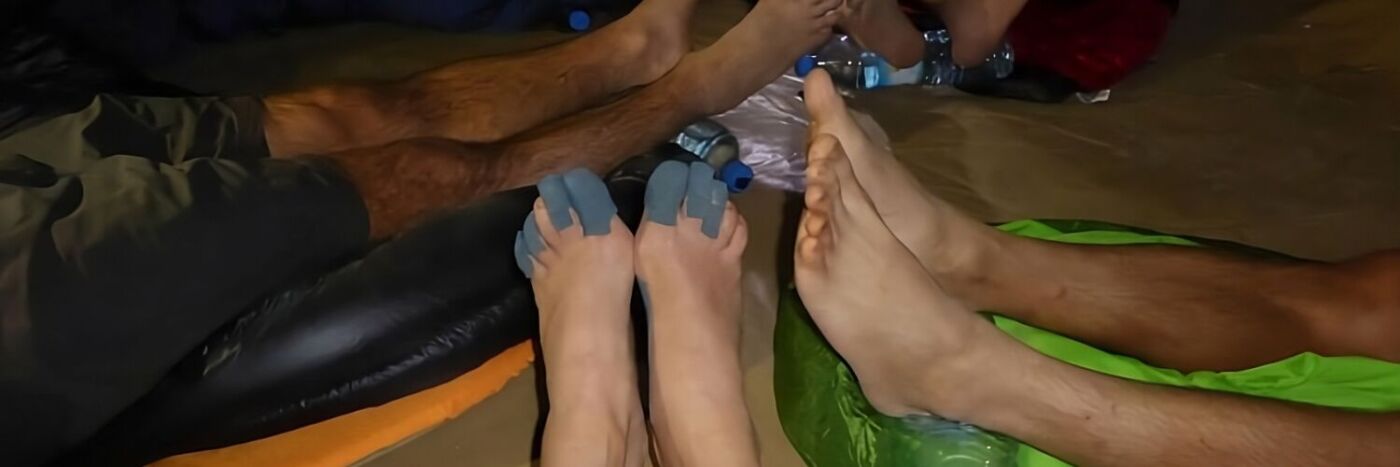
6. Rest your feet
Give your feet a break whenever you can. Take your boots and socks off during rest stops or lunch and, if possible, elevate your feet to help reduce swelling.
At the end of the day, switch into something breathable like sandals or crocs to let your feet air out and recover. A bit of fresh air and even some sunlight can make a real difference after hours in boots.
If you are camping, choose footwear that still offers some toe protection, just in case you catch a rock or knock something in low light.
It is a simple habit, but one your feet will thank you for the next day.
7. Choose the right socks
Socks play a bigger role than most people think. The right pair can help manage moisture, reduce friction and keep your feet comfortable over long days.
Avoid cotton, as it holds moisture and increases the risk of blisters. Instead, go for moisture wicking materials such as merino wool or technical synthetics.
It is worth testing different options in training. Some people prefer a single sock, while others find a thin liner sock under a thicker outer sock helps reduce friction. Double layer socks can also work well for some. If you are wearing two pairs, make sure your footwear has enough space to accommodate them comfortably.
Change your socks regularly, ideally daily, and if you are on a multi day trek, attach damp pairs to your pack to dry as you go.
Find what works for your feet before your trip, and stick with it.
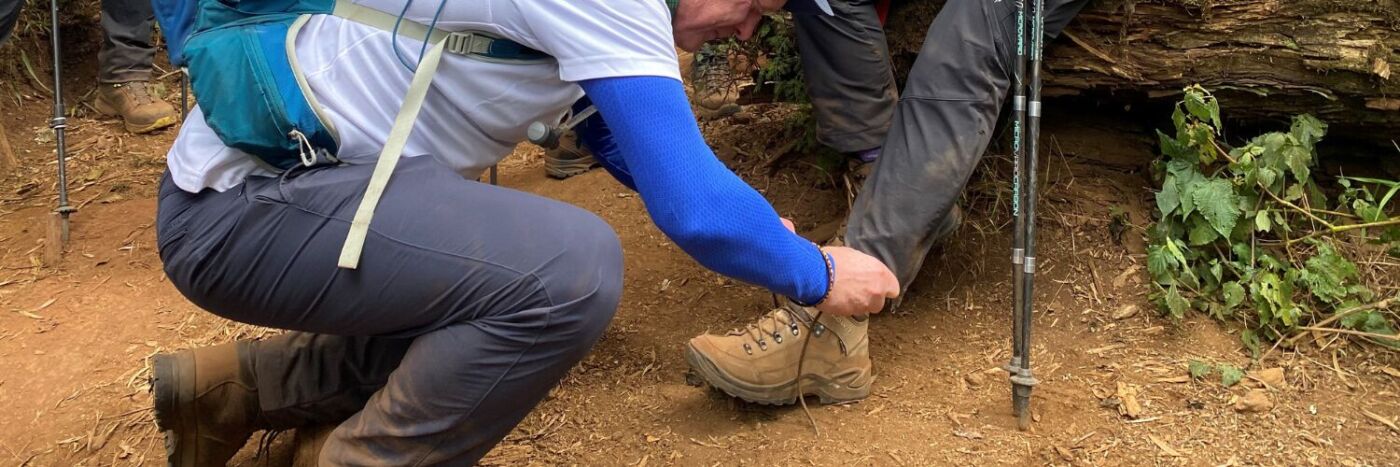
8. Lace your boots properly
How you lace your boots can make a real difference to comfort and blister prevention.
Adjust your lacing to suit the terrain. On climbs, keep things slightly looser across the forefoot to allow natural movement and reduce pressure. On descents, tighten around the ankle and heel to lock your foot in place and stop it sliding forward, helping to protect your toes.
Use the extra eyelets near the ankle to create a secure heel lock if your boots have them. This can reduce movement and friction, especially on steep ground.
Check and adjust your laces throughout the day. Feet can swell, so what feels right in the morning may need loosening or tightening later on.
For more detailed techniques, you can explore this helpful guide from Scarpa on The Best Lacing Techniques for Walking Boots.
9. Blister prevention starts early
Blisters do not appear out of nowhere. They build gradually from friction and pressure, which is why early action makes all the difference.
That first sign of warmth or irritation is your cue to stop and sort it. It might feel minor in the moment, but left unchecked it can quickly develop into something far more uncomfortable.
Take the time in advance to experiment with different blister patches and taping techniques so you know what works best for your feet. Having a simple, reliable approach dialled in before your trek gives you confidence when it matters.
On the trail, act quickly if you feel a hot spot. Remove your boot, check for any dirt or grit, and make sure your socks are sitting smoothly with no creases. A small piece of tape can protect the area and reduce friction before it becomes a problem. It can also be used to cover any seams or pressure points inside your boot.
A few minutes of attention here can save you hours of discomfort later.

10. Taping is your best friend on trek
Taping is one of the most effective ways to prevent and manage friction.
Sportstape
One of our favourite suppliers is SportTape, a family business based in South Wales producing great quality tape while also supporting local community projects. They also have some really helpful taping tutorials and videos here: SportTape Taping Videos
Leukotape
Leukotape is widely used on long distance treks for a reason. It is strong, reliable and stays in place.
It works best when applied to clean, dry skin before a blister forms. It is particularly effective on heels and high friction areas and can stay on for several days, even in wet conditions.
Apply it smoothly with no wrinkles, as creases can create new pressure points.
RockTape
RockTape is a kinesiology tape, meaning it is more elastic and moves with your skin.
It is useful for areas that need more flexibility or where you want support without restricting movement. It is generally more comfortable on joints or areas that bend frequently, though it may not last as long as Leukotape in tougher conditions.
Many trekkers carry both and use them depending on the situation.
11. Test what works for you
Not all tape or techniques suit every person.
The “Two Tape Test” recommended by Fixing Your Feet is simple and effective. Try different tapes on training walks and see which one performs best for your skin in terms of comfort, durability and irritation.
Better to learn this at home than halfway through a trek.
12. If a blister does form
Even with good preparation, blisters can still happen. The key is to manage them properly.
Small, unbroken blisters
Leave them intact if possible. Cover them with tape or a blister dressing to protect the area and reduce friction.
Larger or painful blisters
If needed, they can be drained carefully using a sterile needle. Clean the area, apply antiseptic, and cover it securely to protect from further rubbing and infection.
You can find detailed advice on lancing blisters in Fixing Your Feet.
13. Build a simple daily routine
At the end of each day on trek, take a few minutes to look after your feet.
- Wash and dry them thoroughly or clean feet with eco wipes such as Ecoegg Bamboo Reusable Towels or compressed bamboo towels.
- Check for hot spots or pressure areas.
- Let them air out.
- Apply a light moisturiser overnight if your skin is drying out.
This small routine helps you reset and start fresh the next day.
14. The small things that make a big difference
- Carry a basic foot care kit. Keep it lightweight and practical. A small waterproof pouch or zip bag is ideal. Include a few essentials such as your preferred tape, blister plasters, alcohol wipes to clean the skin, and something to help tape stay in place if needed.
- Keep spare socks easily accessible.
- Shake grit and debris out of your boots regularly.
- Do not ignore discomfort, it rarely resolves on its own.
Final thought
On a trek, everything comes back to one simple thing. Putting one foot in front of the other.
Look after your feet and they will carry you through remote trails, big landscapes and those moments where you feel completely in it.
Neglect them, and you will feel it pretty quickly. You’ll endure rather than enjoy your long awaited adventure.
If you’re ready to put this into practice, explore our trekking adventures or mountain climbs and give those well looked after feet somewhere incredible to go.
Here’s to strong steps, happy feet and the journeys ahead.