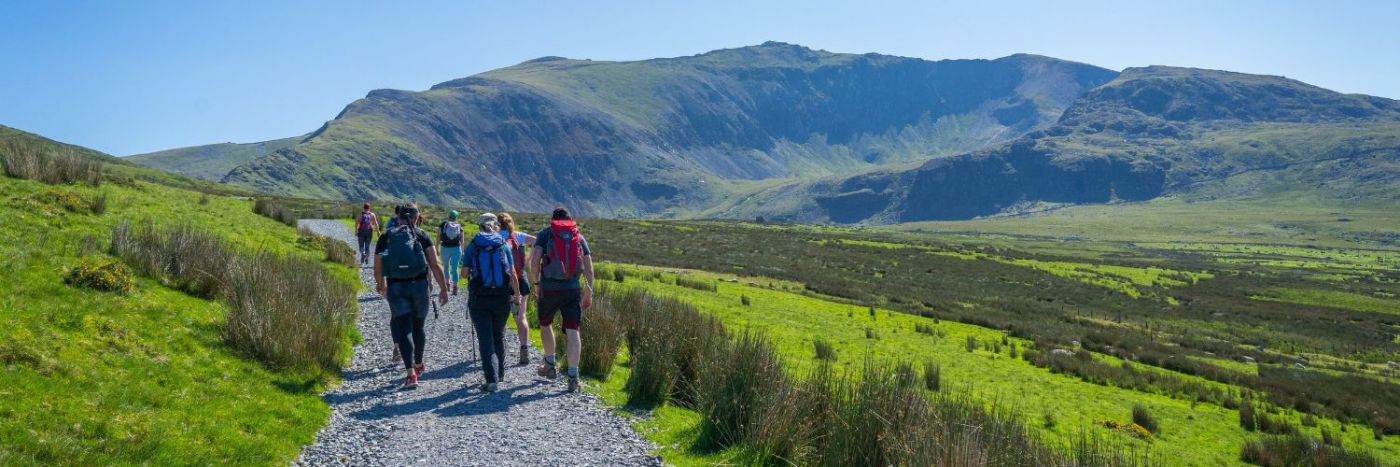
Hiking Essentials: Packing Tips
When somebody says ‘Pack your bag, we’re going on an adventure!’, are you the type of person who simply grabs anything and everything and chucks it all in like a bank robber, or do you plan meticulously and pack everything in a highly organised manner? Having some kind of system is definitely the way forward. How we pack is equally as important as what we pack. There’s a knack to it and here’s a few basic packing tips to help you pack for a hike.
Choose carefully what you pack
Don’t carry unnecessary kit. If you want to walk in the mountains for years to come, your knees will appreciate you not carrying kilos of unnecessary weight. Think about the long term. The trick is to know what you will need, what you might need and what you won’t need and get the balance right. Over time you will learn that some of the things you think you need aren’t actually that useful and don’t need to be carried at all. The one caveat is that there are few items you probably won’t need but should always carry anyway. A first aid kit, group shelter (bothy bag), a blizzard vest and head torch should live in your bag year round plus don’t forget your fully charged mobile phone and let a friend or relative know where you’re going and when you expect to return.
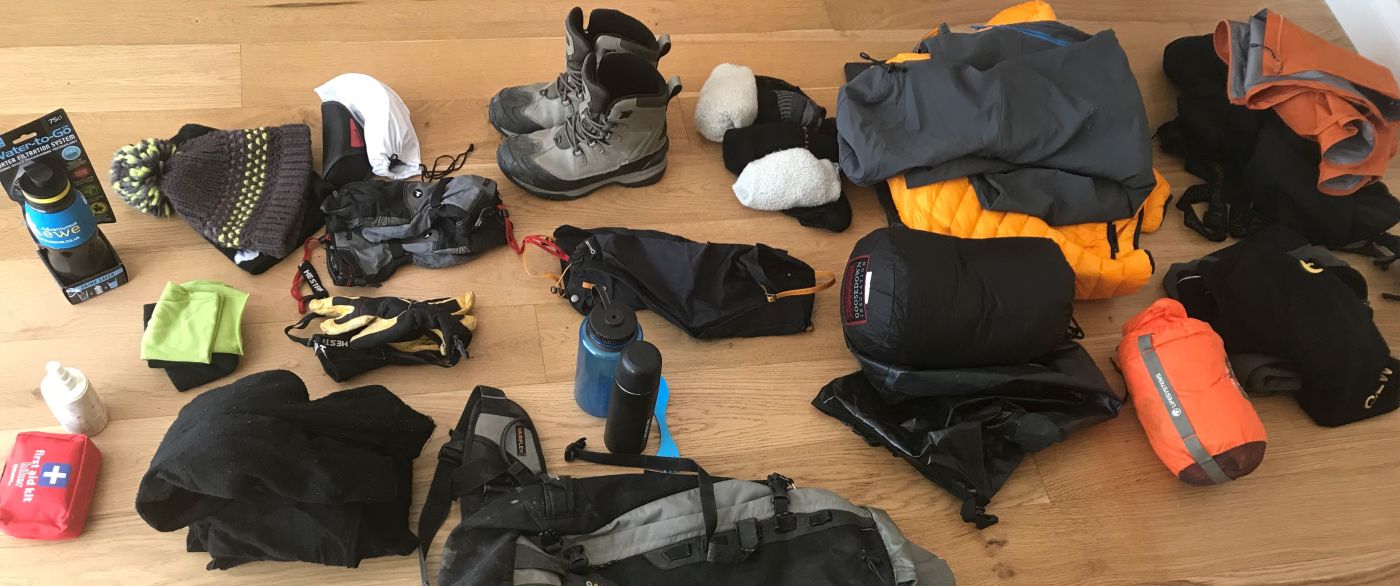
Pack your kit based on it’s weight and likelihood of it being used
This is a really important piece of the puzzle. The things that are least used – the ‘just in case’ items such as first aid kit, group shelter & blizzard vest should generally be first in/last out items; stored waaay down in the bottom of your pack. Conversely, your head torch should be right in the top, in a pocket or the lid of the bag; the easiest place to access. Extra clothing layers should go somewhere around the middle of your bag and be somewhat organised. If it’s going to rain, don’t bury your waterproofs near the bottom of your bag, have them easily accessible. Food should go somewhere on top with your warm layers and water high up and close to your back to keep the weight centred to your body. Keep some snacks and gloves/hat/sunglasses near the top or better still, in the top compartment, so they are quickly and easily accessible throughout the day.
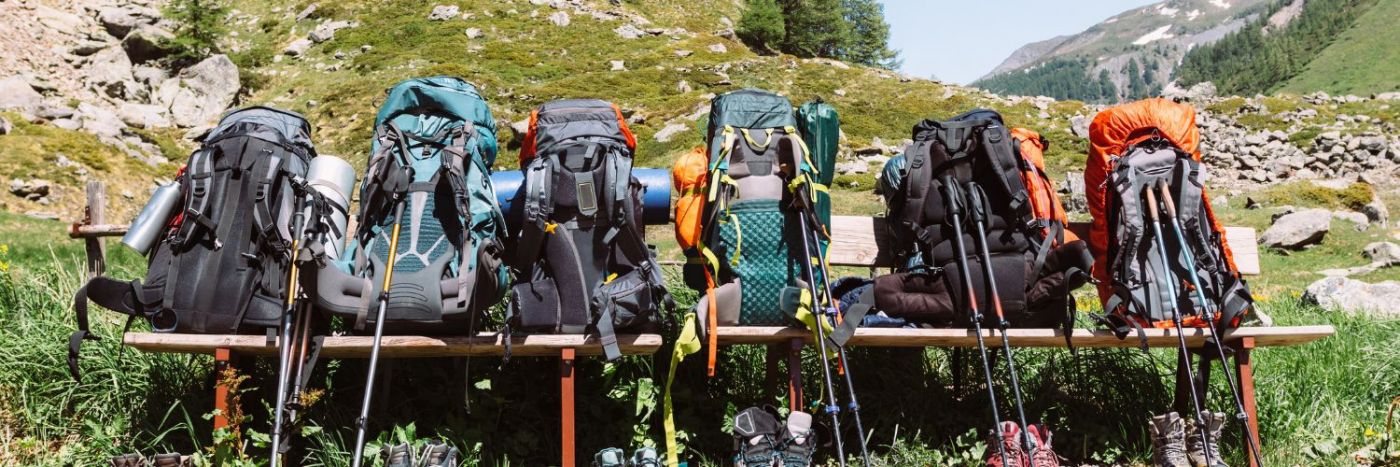
Organise your kit
Dry bags are useful kit organisers and come in various sizes. It’s definitely worth having a few to separate some essential bits of kit and make them easy to access.
- A small (5L) emergency dry bag with a first aid kit for cuts, burns, blisters etc with some handy extras included, such as sun-screen, dehydration salts/electrolytes, energy gels, plasters, vet-wrap or rock-tape (or similar) & pain killers. A few sheets of kitchen/loo paper in a biodegradable dog poop bag can be useful for other emergencies. A few bits for emergency repairs such as a zip tie or two, repair tape for waterproof kit and some duct/gaffa tape. It’s worth keeping a small spare head torch in this bag .
- A medium (10-15L) dry bag for your extra layers. Insulation, water proof & wind proof should squeeze down nicely.
- A small (5L) dry bag for hat/gloves/snacks should go right at the top. The top pouch/pocket of your bag is perfect for this. You can buy square shaped dry bags which are perfect for this.
Keep kit inside your bag
Having all kinds of kit dangling and jangling on the outside of your bag really isn’t a good idea because, quite simply, it gets windy in the mountains! You are likely to have something blow away, get knocked off or just be really annoying and bang around all day. If you can’t fit everything inside your bag then maybe you need a slightly bigger bag – or you’re carrying too much stuff!
Keep a little free space in your bag
If you have all your layers on right from the start and your bag is already full, then you’ll end up delayering and trying to store your clothes outside of the pack. Expensive coats have been found blowing around the mountains for this very reason! Plus if you’re trekking with us, no doubt you’ll receive a delicous home-made packed lunch and snacks that you don’t want to eat squashed if it’s rammed into an already full bag.
30-40 litres is a good size for a year round day pack
- In summer, you could get away with 25-30L as you will need to carry less layers. You may need to carry extra water/water filter equipment though, depending on route/weather conditions, so it’s always a balance. If your water-bottle is stowed in an outside pooch, clip it on with a carabiner clip if possible.
- In winter, 35-40L is a good size to ensure you have space for extra layers/food/flask/crampons etc. When buying a pack, ensure it has somewhere to securely stow walking poles or an axe. A side pouch or two can be useful but also encourages the storing kit outside of the bag.
Ever seen a plastic drinks bottle/can/takeaway coffee cup on the floor in the mountains? Chances are, it was stowed in an outside pocket and simply fell out. It’s still littering.
If you can’t fit it in your bag….either your bag is too small or you’re carrying too much kit!
Waterproof the inside of your bag with a large liner
There’s two main things wrong with having a giant bag cover on the outside of your bag. It makes you look like a teenager on DofE (which is great if you are a teenager on DofE!) and they are prone to getting blown away – mountains are windy, remember! Using a large, lightweight dry bag as a liner is a far better idea. Everything stays safely inside your bag. It is sealed and actually waterproof and at the end of a wet day, you can simply lift it out and let your bag dry.
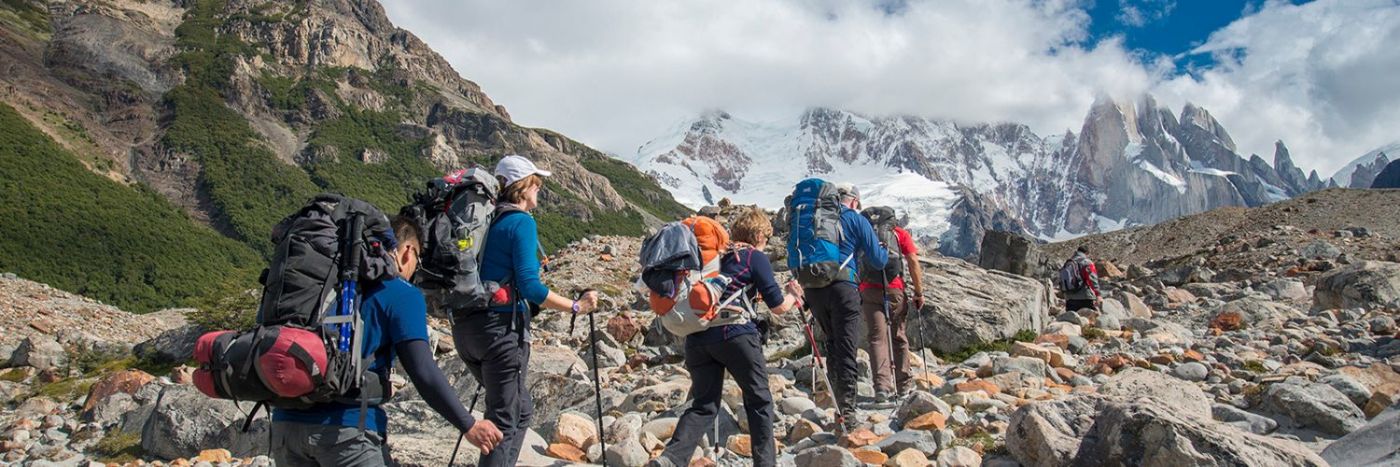
If you’re planning multiday hikes, the same rules still apply
A 50L bag is a reasonable size for wild camping. Not so big that you will end up packing the kitchen sink but not so small that you’ll have kit dangling all over the outside. The tent always goes near the bottom. A trusty dry bag can be a great way to store your tent, especially if it’s going to be wet. Use a large (30-40L) bag that can fill out the bottom of your pack efficiently. Sleeping bag, sleeping matt and stove & food for cooking come next. Then pack your bag as usual. If you have a tent, will you need a group shelter?
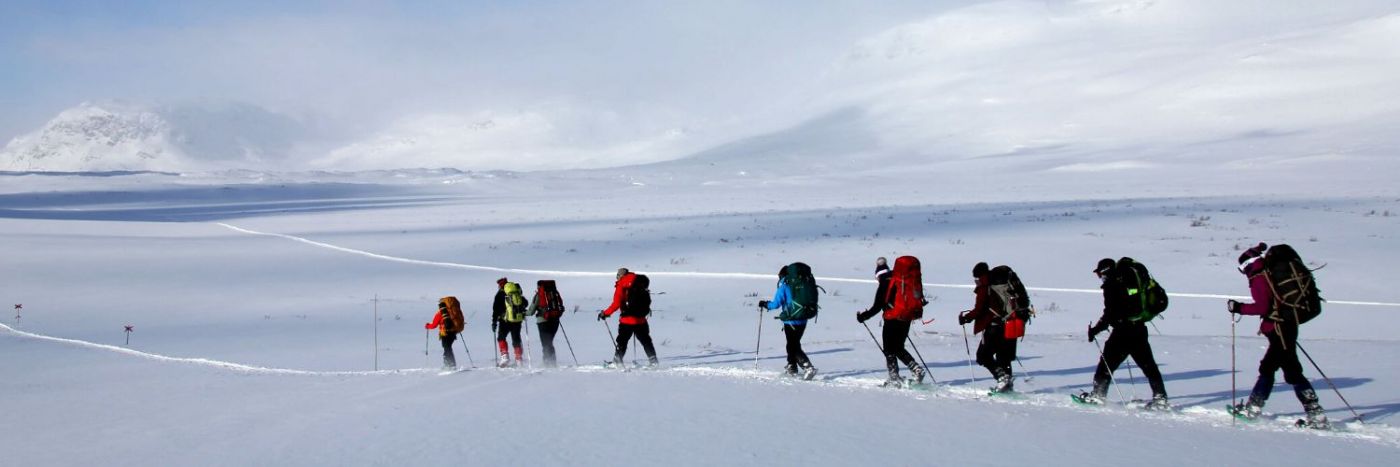
Travelling to colder climates?
If you’re embarking on multi-day hike (or snowshoe) to far colder climates, check out our video tips put together by Adventurous Ewe’s Chief Ewe, Jim, following years of experience of trekking in remote far flung frozen places.
What should you include in your first aid kit?
Depending on what adventure you are undertaking, will depend on what first aid items are key to pack. Ie. if you’re trekking in the desert, you may wish to pack more electrolytes & hydrations salts or even a hand-held fan compared to hiking in the Arctic Circle; or if you’re cycling you may wish to include more bandages such as ‘celox rapid’ compared to doing a lowland hike. Below is just some of the first aid items we’d recommend including in your pack:
Plasters & blister plasters, different sized dressings, triangular bandage (simply cut up an old sheet if you don’t have one), sheet cutters (or scissors), blizard sock or foil blanket, vet wrap (great for sprains and knee support), antiseptic spray, antihistamines, paracetemol, ibuprofen, aspirin (300mg), sugary sweets or gels (GSF syrup is ideal), electrolytes & rehydration salts, tick remover (tuck-in & twist type), gaffa tape (wrap some around your trekking pole or water bottle rather than taking the whole roll), eye wash, waste bag & gloves. Plus if reguarly take your own medication/s, creams, etc. make sure you pack these too.
Now, with this in mind, we all have our own preferences for what we carry and how we carry it. As you develop your experience and knowledge of your kit & needs, you will naturally change what works for you and what doesn’t. Travelling light is definitely good but light isn’t always right.
We hope the Hiking Essentials Packing Tips blog has given you some ideas to help with your packing.
Happy packing and happy trekking.
Jamie, Adventurous Ewe Mountain Leader